
In Student View you can view across the different tabs: the Billing History, Billing Configuration, Personal Information, Student Information, Family, and Transaction History of each student. In the top shaded area you can view the student Name, Code, Grade, Status and Rate Category.

The total account balance of the student is displayed on the top right of the screen.
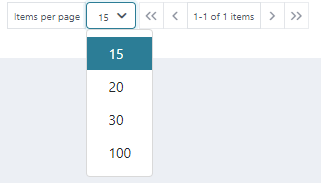
The grid view will display the first 15 Invoices by default, and any additional Invoices will be displayed in separate pages. There is a count for how many Invoices are available and how many are being displayed on the page out of those available. The arrows can be used to moved between pages.
Billing History
The grid view in Billing History will display the Billing Period, Total Billing, Voided, and Actions.
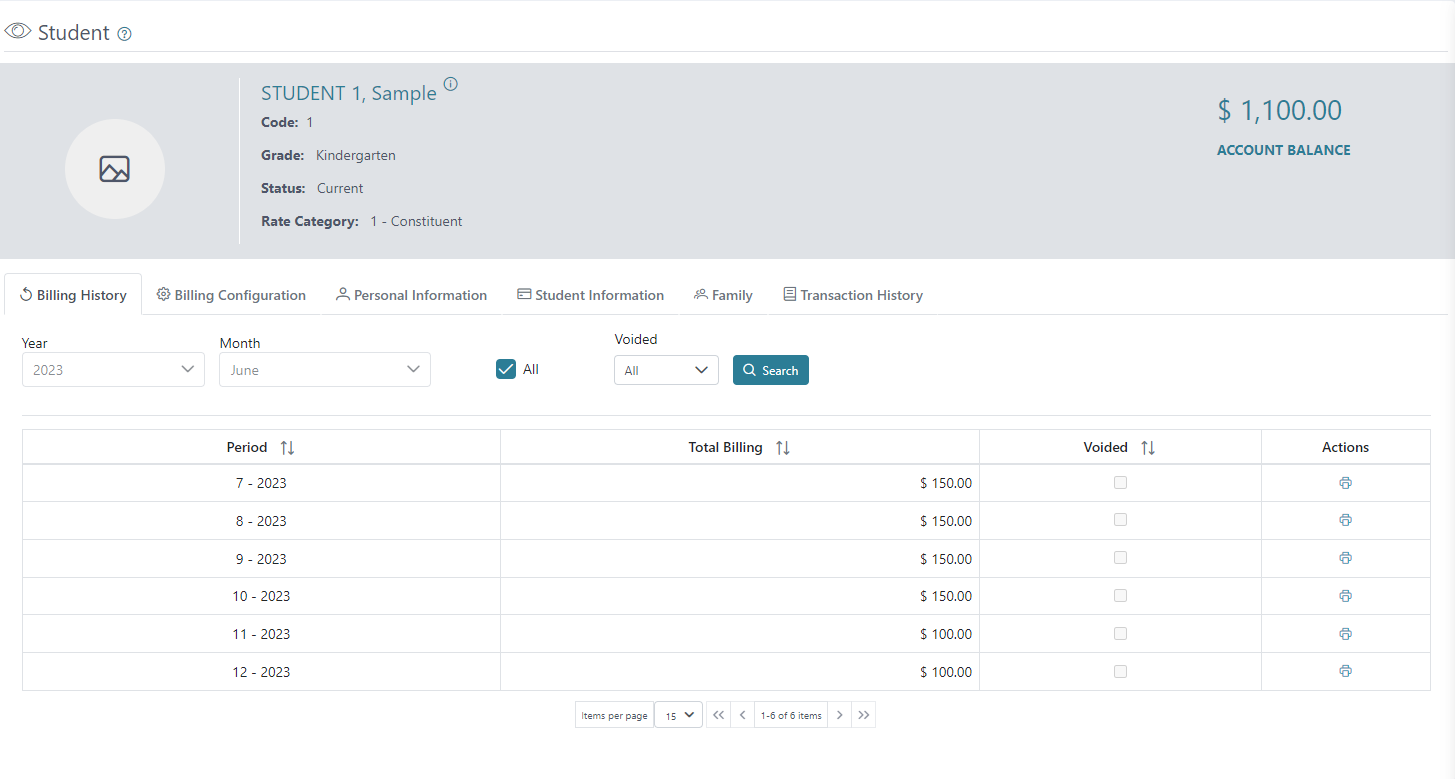
You can search for billings by Year, Month, and Voided by selecting the Year/Month/Voided options and clicking the Search icon.

The action button in the Actions column allow you to download the Invoice.

Billing Configuration
In the Billing Configuration tab, you can see the Billing By Student, Billing By Grade, and Global Billing that are applied to the individual student. The grid view in Billing Configuration will display the Billing Rate, Frequency, Rate, and Actions.
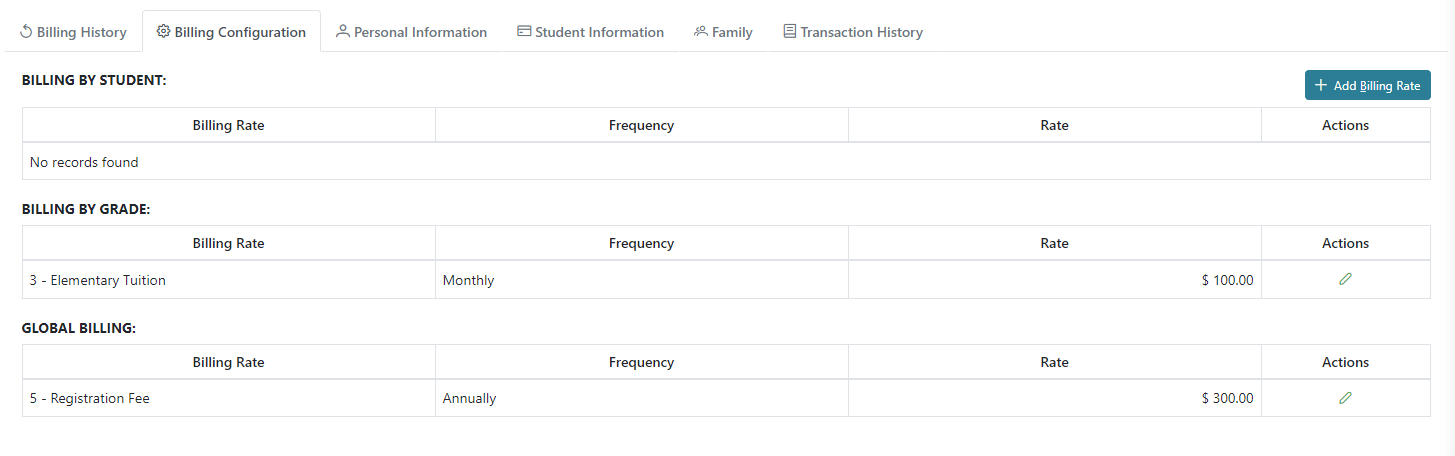
The action buttons in the Actions column allow you to Edit and Delete the Billing Rate for Billing by Student. Billing By Grade and Global Billing can only be edited and cannot be deleted from the Billing Configuration tab.

To add a Billing Rate, click on the Add Billing Rate icon on the top right, above the grid view. Type in the name or code or simply press the search icon to bring up a list of Billing Rates. Click on the Billing Rate you need and click Save and Close to save and return to the Billing Configuration tab.
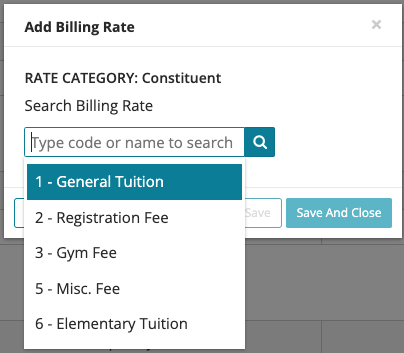
*Rates that appear will depend on the student’s Rate Category (Constituent/Non-Constituent/International/etc.)
Personal Information
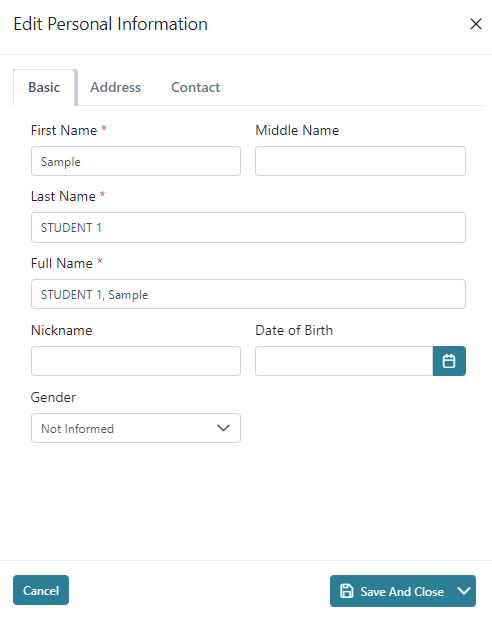
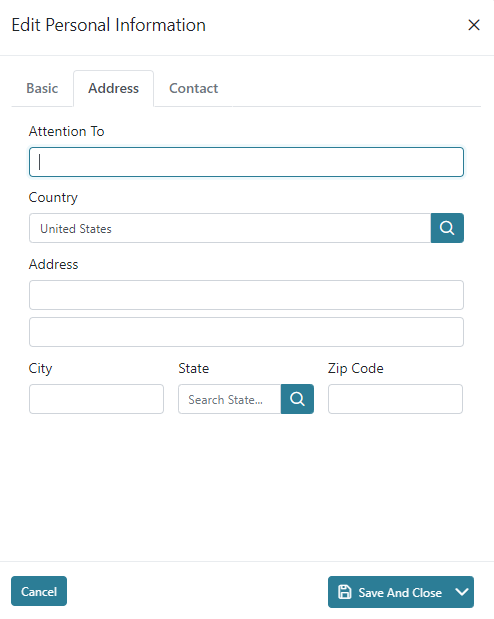
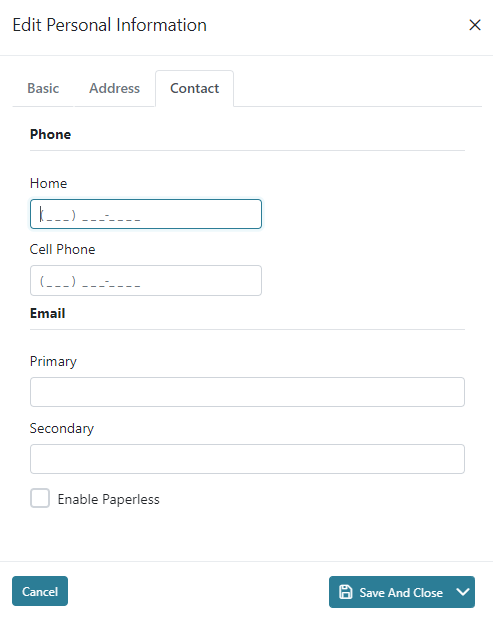
In the Personal Information tab you can view and edit the Student’s First Name, Middle Name, Last Name, Nickname, Address, Email, and Phone using the different tabs.
To edit the the student’s Personal Information, click on the Edit Personal Information icon. Here you can edit three tabs, Personal, Address, and Contact. Once you are done editing, click Save and Close to save and return to the Personal Information tab.
Student Information
In the Student Information tab you can view and edit the Student, Status, and Grade.
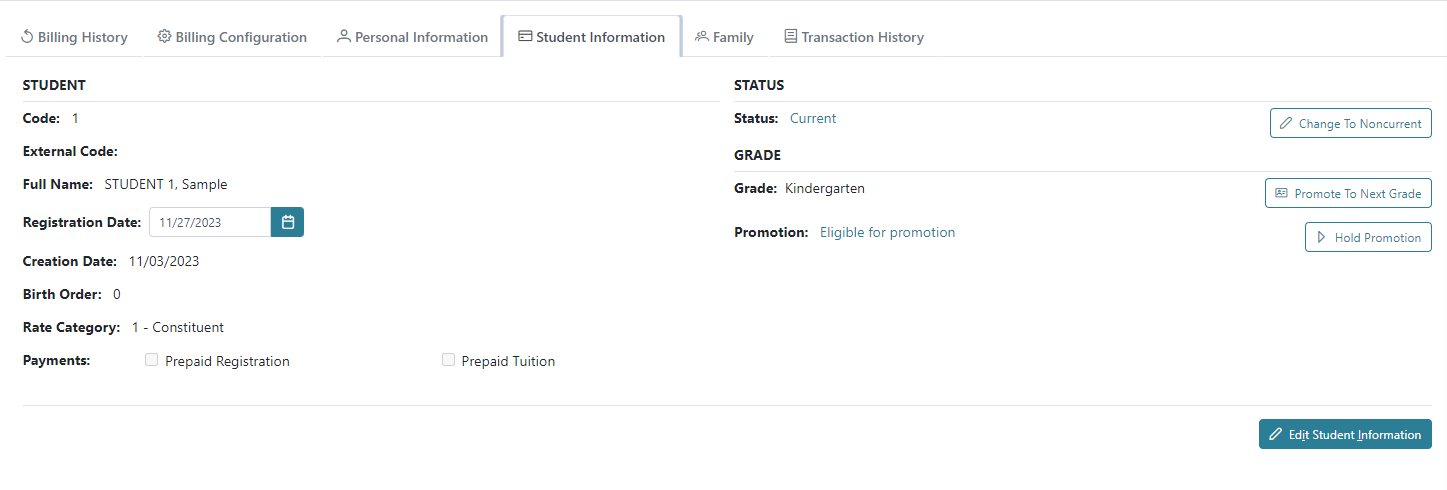
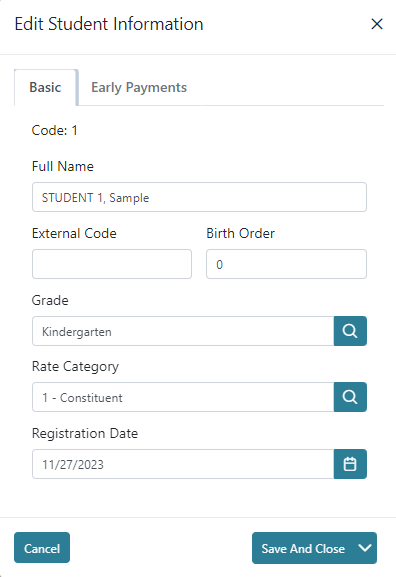
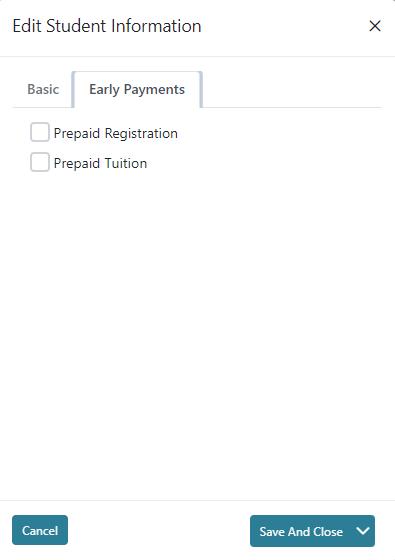
Under Student, you can see the Student’s Code, External Code, Full Name, Registration Date, Creation Date, Birth Order, Rate Category, and if they have Prepaid Registration and/or Prepaid Tuition.
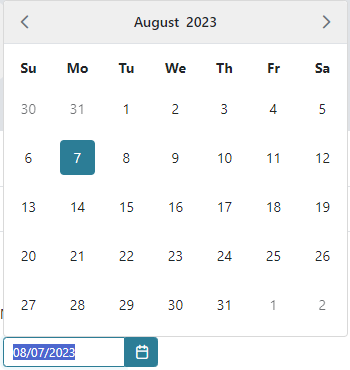
You can edit the Registration Date by clicking on the Calendar icon and clicking on the appropriate date.

Under Status, we can change the student’s status from Current to Non-current and vice versa. To change the student’s Status, click on the Change To icon and click Yes to confirm when prompted.


Under Grade, we can Promote or Hold Promotion for the student.

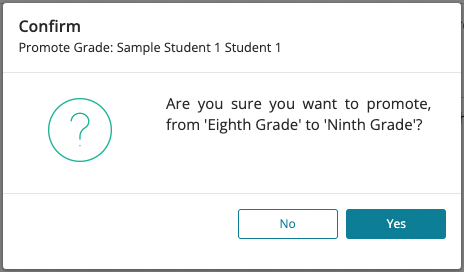
To promote the student to the next grade, click Promote To Next Grade and click Yes to confirm when prompted.
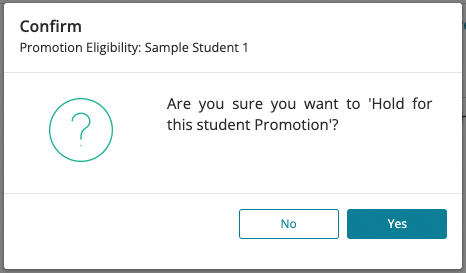
To hold a student’ promotion, click on Hold Promotion and click Yes when prompted.
To edit the student’s information, click on the Edit Student Information icon, on the bottom right of the screen. Here you will be able to edit the Basic and Early Payments tabs. Once you are finished editing, click Save and Close to save and return to the Student Information tab screen.
Family
In the Family tab, you can view, Add, Edit, and Delete the student’s Siblings and Responsible Parties.
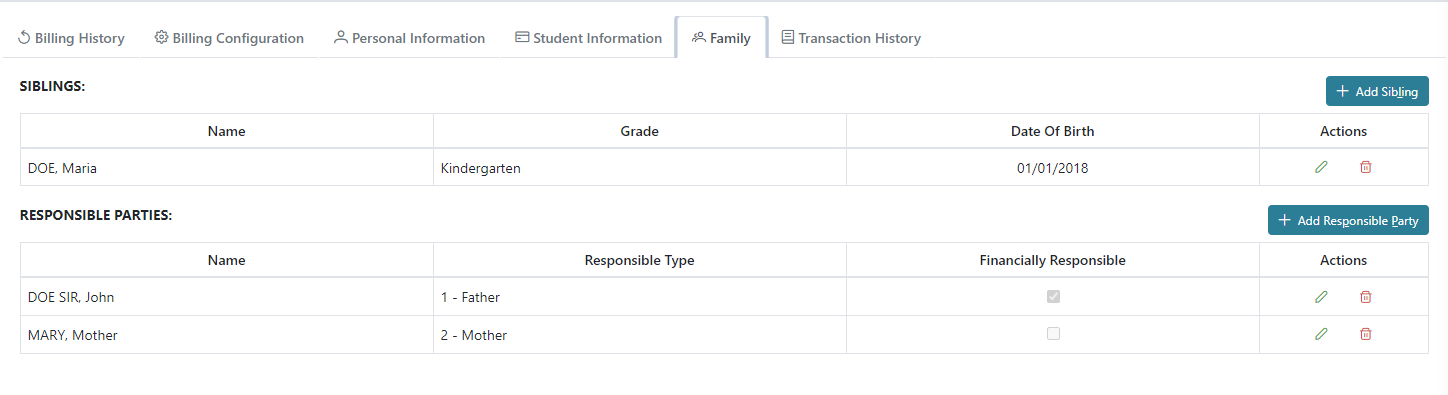
The grid view under Siblings will display the Siblings’ Name, Grade, Date of Birth, and Actions.

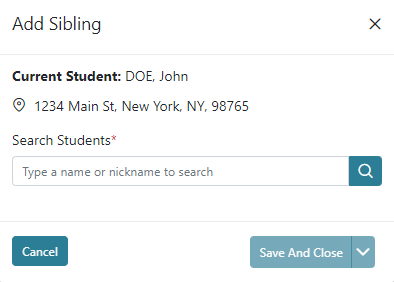
To add a sibling to a student, click on the Add Sibling icon on the right, above the grid, and type the sibling’s name or nickname in to the search bar and select the appropriate name. Then click Save and Close to save and return to the Family screen. Once you add the sibling to the student, the system is populate the other student with the sibling.
The grid view under Responsible Parties it will display the Name, Responsible Type, Financially Responsible, and Actions.

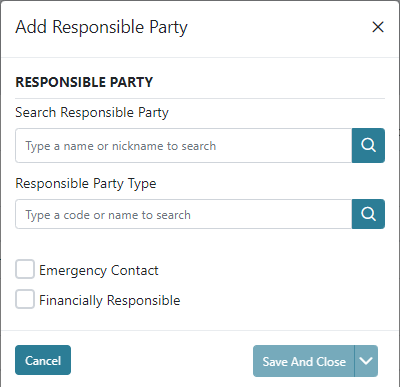
To add a Responsible Party, click on the Add Responsible Party icon and type the name or nickname into the search bar and select the appropriate name. Then select the appropriate Responsible Party Type in the same manner. Here you can also select whether this Responsible Party will be the Emergency Contact and/or the Financially Responsible. Click Save and Close to save and return to the Family screen.
Transaction History
In the Transaction History tab we can view the transactions between the student and the school. The grid view will display the Date, Journal number, Description, Debit, Credit, and Actions.
You can print or download a list of transactions using the printer or Excel icons on the right, above the grid view.
Using the Filter tab on the left we can filter by Date, Amount, and Description. After entering in the data, click the Search icon.
The action button in the Action column allows you to download and print the transaction.