In Grades, you can add, edit, delete, or view detail for grades. Grades in this context pertains to the grade level students are in and are tied to a Grade Category. The grid view will display the Grade Category, Name, and Order.

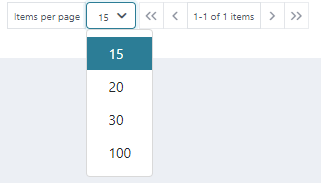
The grid view will display the first 15 grades by default and any additional grade will be displayed in separate pages. There is a count for how many grades are available and how many are being displayed on the page out of those available. The arrows can be used to move between pages.
You can search for Grades using the Grade Category or Name.

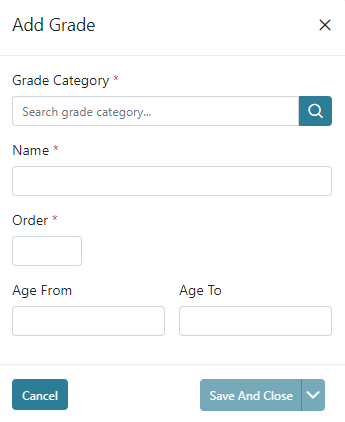
To add a Grade, click on the Add Grade icon on the top right. Here you can add the Grade Category, Name, Order, and Ages. The Grade Category is already listed from the grade category screen. Order should be setup using 1 for the lowest grade and numbering up sequentially for each higher grade. Click Save and Close to save the Grade and go back to the Grade Screen.
The Grade Promotion process allows you to move students from their current grade into the next available grade. There is a wizard that allows you to move students at the end of the school year. There are options to move all grades at once (recommended) or move individual grades or students; however, it is recommended if using the individual grade option to start at the highest grade and work down to ensure students aren’t moved up more than they should be with each grade promotion. When students have been moved to the next grade through the grade promotion process their billing rates for the subsequent school year will automatically reflect what is to be billed in the new grade they are placed in but the global billing and billing by student related items will remain.

Step 2- Verification, allows you to verify the students that will move on to the next grade without executing first. The “Preview Student Promotion Plan” provides a report of student Name, Eligible For Promotion, Current Grade, and Next Grade. If student is marked held for promotion it will maintain the the current grade as the next grade.
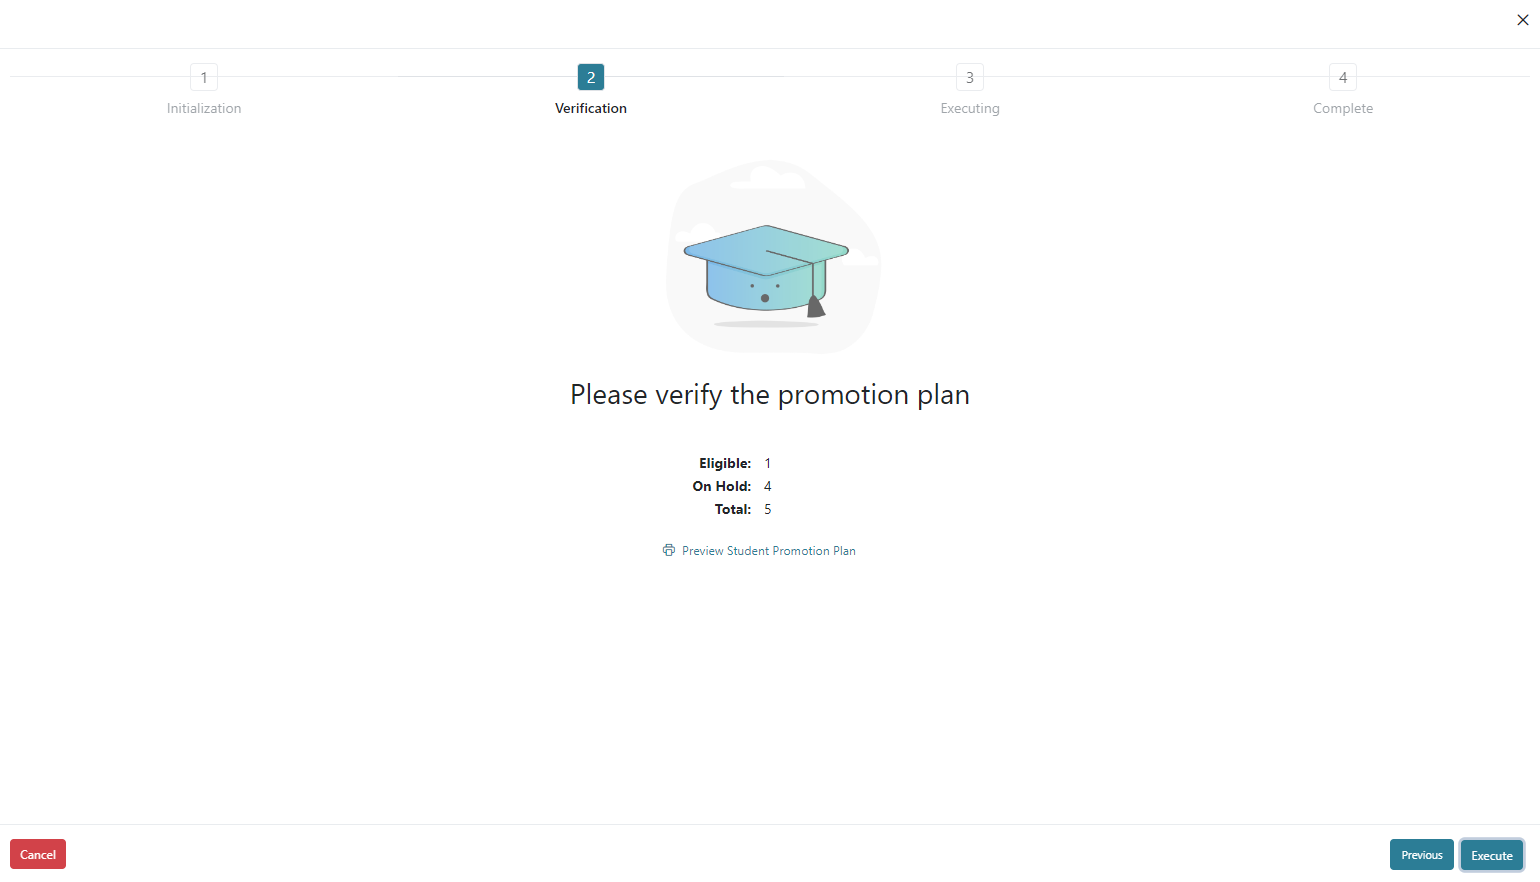
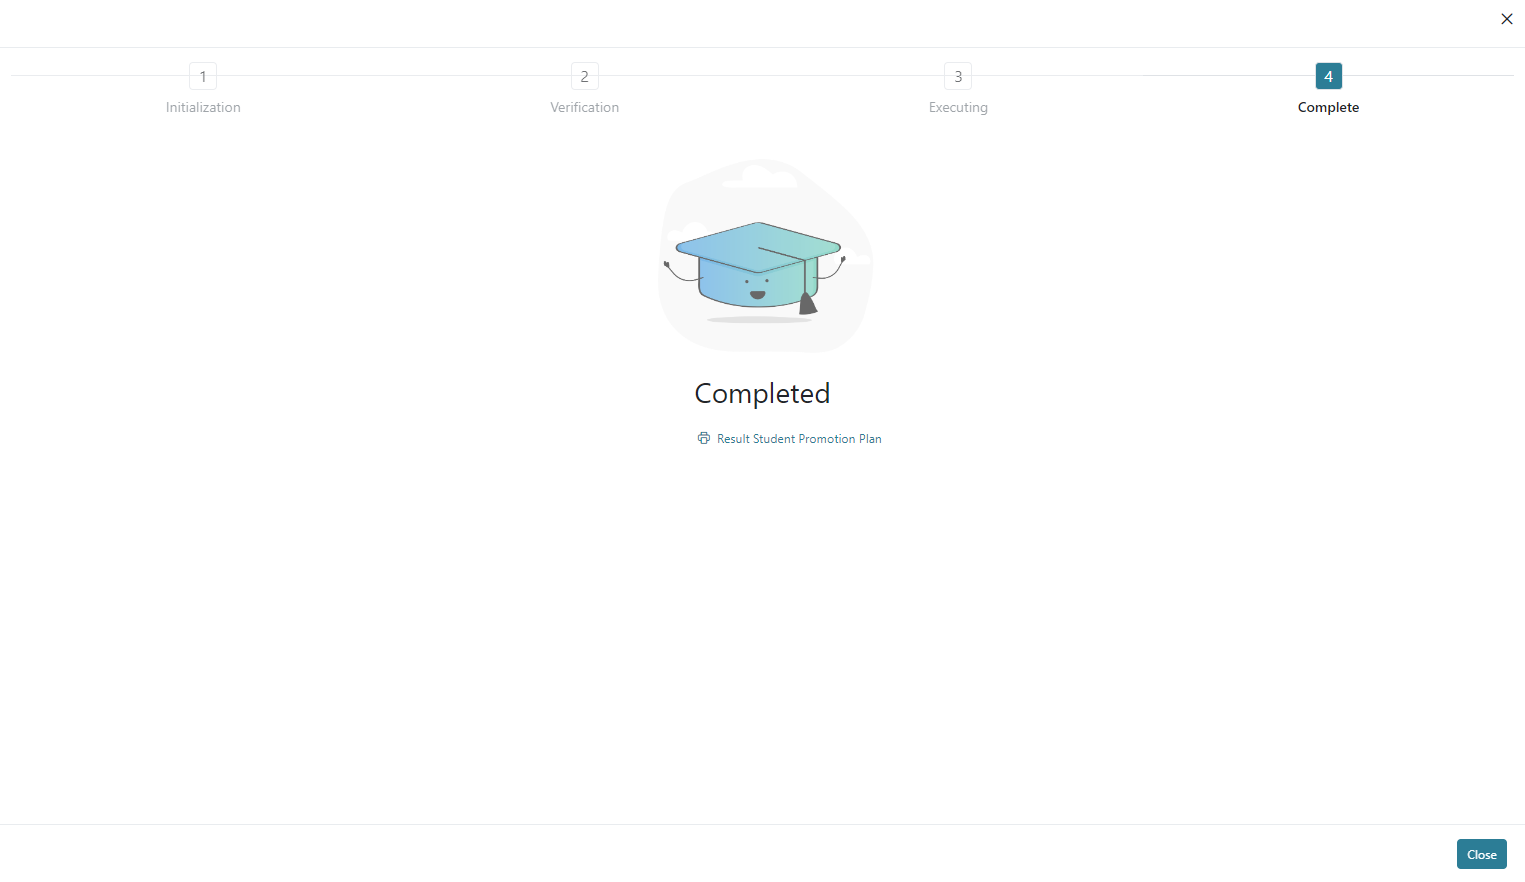
Step 3- Executing, completes the process of moving the student to the next grade unless they are held for promotion. Step 4- Complete, displays an option to see the “Result Student Promotion Plan”.
Students may be “held for promotion” in the Student View screen if they should not be promoted at the end of the year and this will ensure the grade promotion process does not move them to the next grade.

The action buttons in the Action column allow you to edit, delete, and view a Grade.
To Edit a Grade, click on the pencil icon. Here you can edit the Grade Category, Name, Order, and Ages. Click Save and Close to save and return to the Grade Screen.

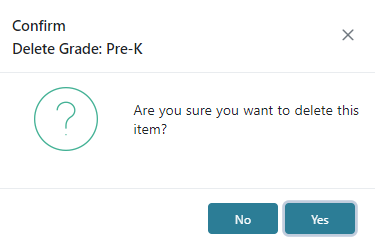
To Delete a Grade, click on the Delete icon. The Grade name will appear for confirmation in the top left of the screen, if you wish to Delete, click Yes.
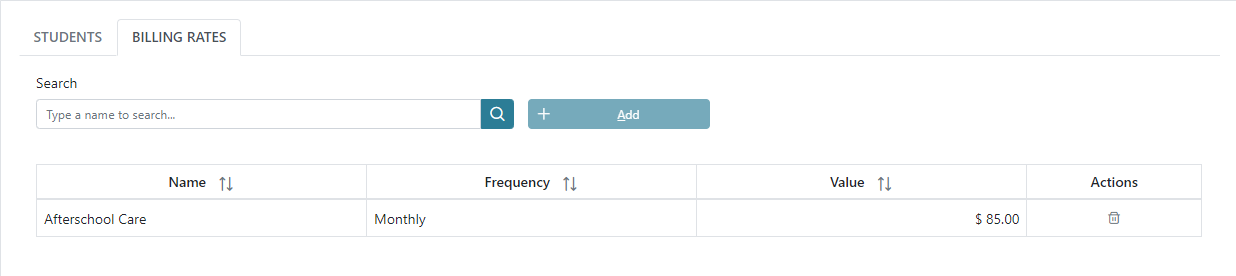
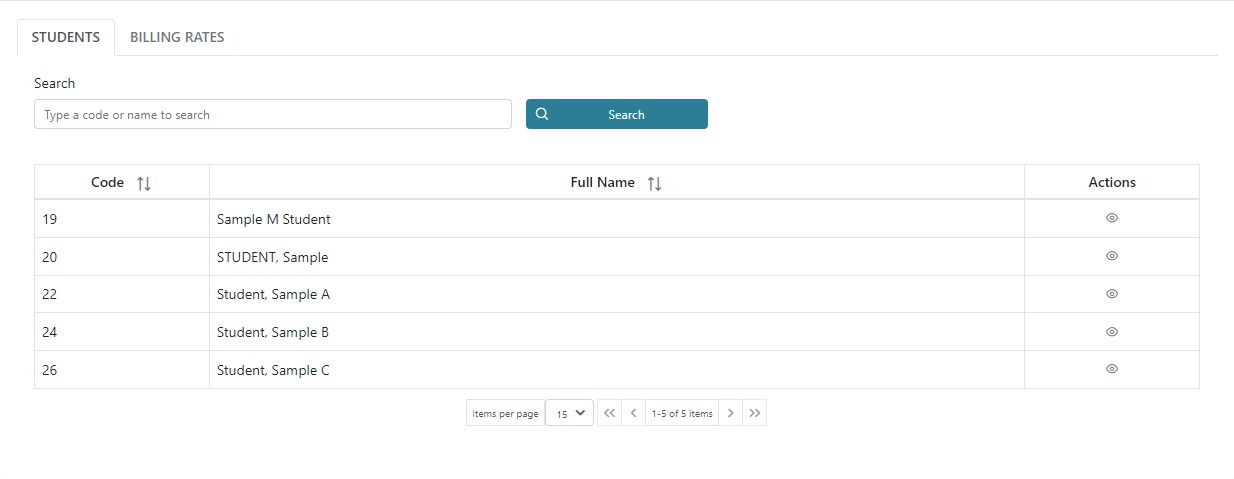
To View a Grade, click the View icon. In Grade view you can see the grade the Grade Category, Name, Order, and total Students in the top shaded area of the selected grade. The 2 tabs below are Students and Billing Rates.

In the Students tab, you will be able to see all the students in the grade selected. The grid displays the student Code, Full Name, and in the Actions column a short cut to view the student profile. The student profile can also be found on the Student menu.
Another way for Billing students is according to the grade. In the Billing Rates tab, you will search for any specific billing rate that will be charged to the grade selected. Use the search box and click add to populate the billing for the grade. You can only search and add billing rates that have been previously created from the Billing Rate menu.