In Billing Rates you can add, edit, or delete billing rates. Billing Rates can be used to setup any different kind of charge that will be billed out and a frequency is established for the billing as well. The grid view will display each Billing Rate Code, Name, and Frequency.
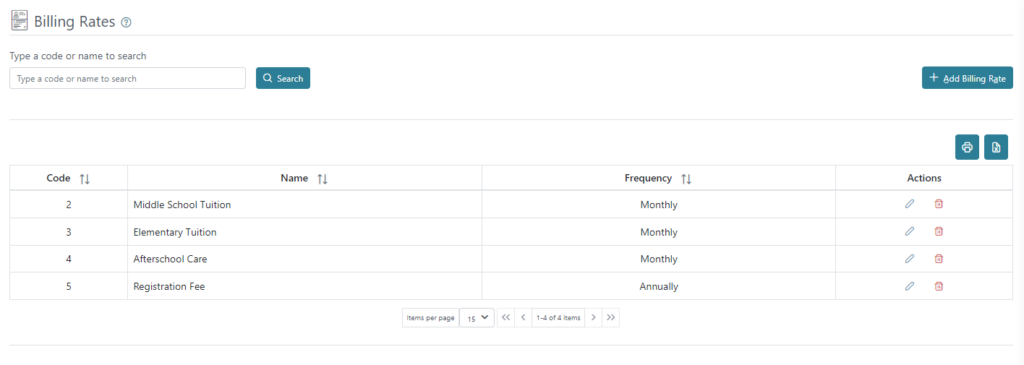
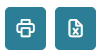
You can print or download a list of Billing Rates using the printer or Excel icons on the right, above the grid view.
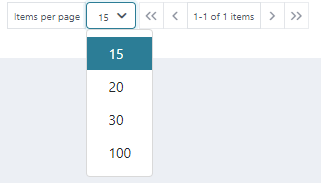
The grid view will display the first 15 Billing Rates by default, and any additional Billing Rates will be displayed in separate pages. There is a count for how many students are available and how many are being displayed on the page out of those available. The arrows can be used to move between pages.
You can search for Billing rates by their Name or Code.

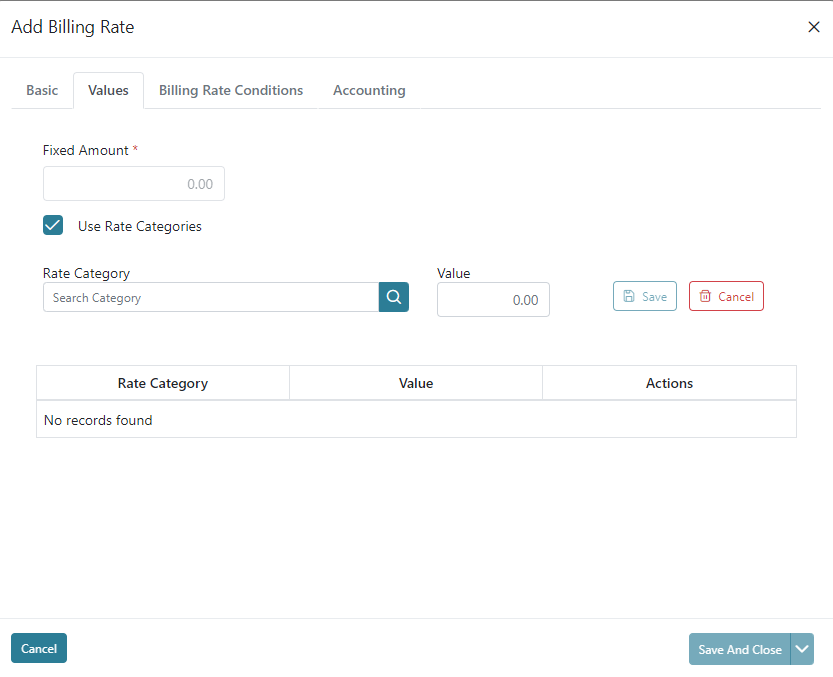
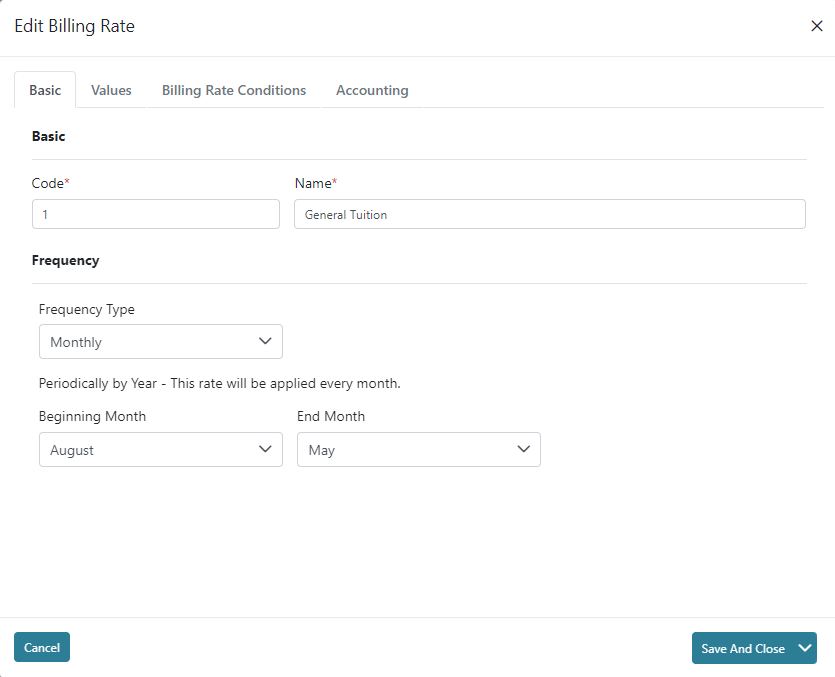
To add a Billing Rate, click the Add Billing Rate button on the top right. Here you can add the Billing Rate’s Basics, Values, Billing Rate Conditions and Accounting. In the Basic tab you can add a Code, Name, and Frequency. Continue through the other tabs and Click Save and Close to save and return to the Billing Rates Screen.

In the Values tab, you can add a Fixed Amount or the check box to Use Rate Categories. If using the check box for Rate Categories you need to click Save next to Value to add the Rate Category or Cancel to remove it.
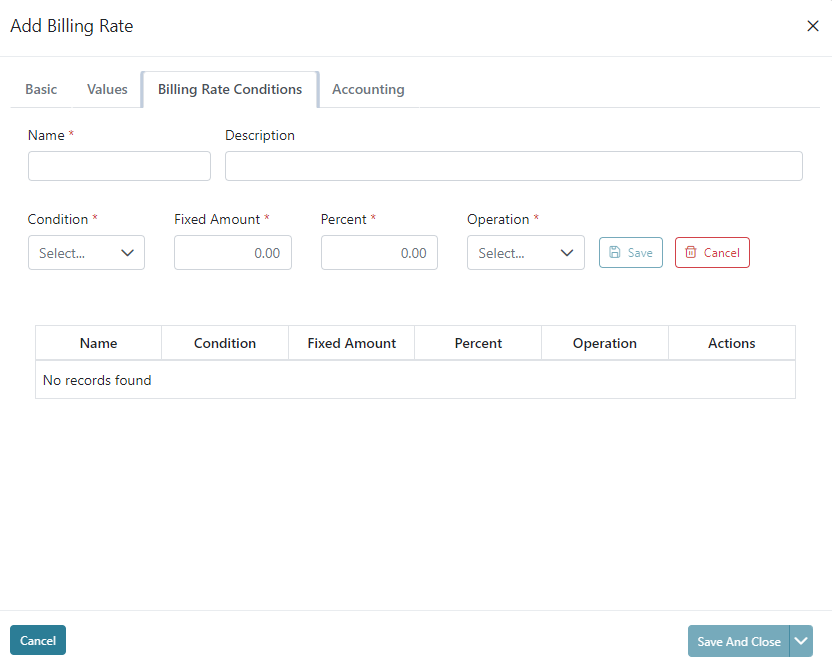
In the Billing Rate Conditions tab, you can add a Billing Rate Condition Name, Description, Condition, and choose either a Fixed Amount or Percent Amount, and Operation. Click Save next to Operation to add the Billing Rate Condition.
The action buttons in the Actions Column allow you to Edit or Delete a Billing Rate.

To Edit a Billing Rate, click on the Edit icon under Actions. Here you can edit the Basic, Values, Billing Rate Conditions and Accounting tabs.
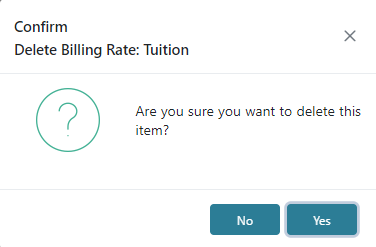
To Delete a Billing Rate, click on the Delete icon under the Actions column. The Billing Rate’s name will appear for confirmation on the top left of the screen, if you wish to Delete, click Yes.