
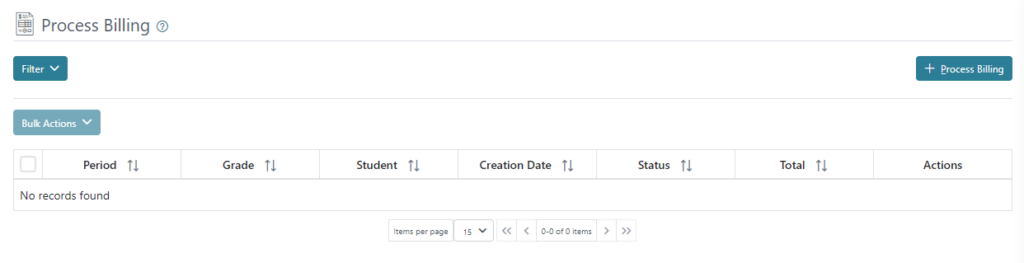
In Process Billing you can view all of the billings that have been completed as well as print, void and close each billing. The Process Billing Wizard takes you through completing each months billing process based on the criteria established for each grade, student, and billing rate. The grid will display each Period, Grade, Student, the Date of Creation, Status and the Total of the process billing.
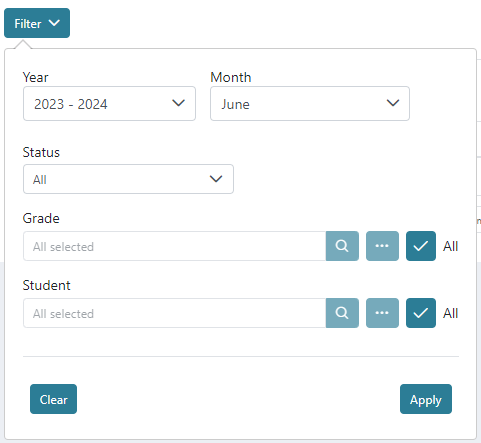
In the Filter menu, we can set a Year, Month, Status, Grade, and the Student in our search. The clear button will remove any recent selection made in the filter fields and the Apply button will run the search including any changes made to the filter and display any findings in the grid view.
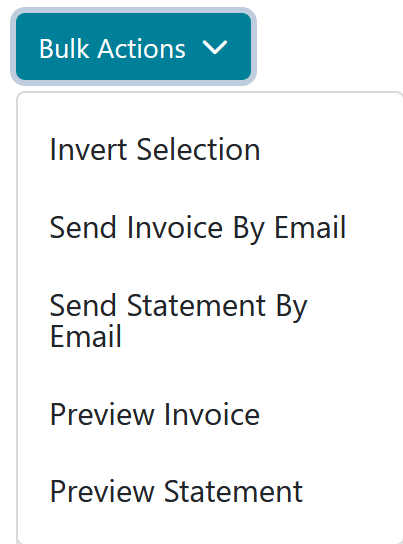
You may use the Bulk Actions by selecting multiple billings and then selecting to Invert Selection, Send Invoice By Email, Send Statement By Email, Preview Invoice, or Preview Statement in bulk.
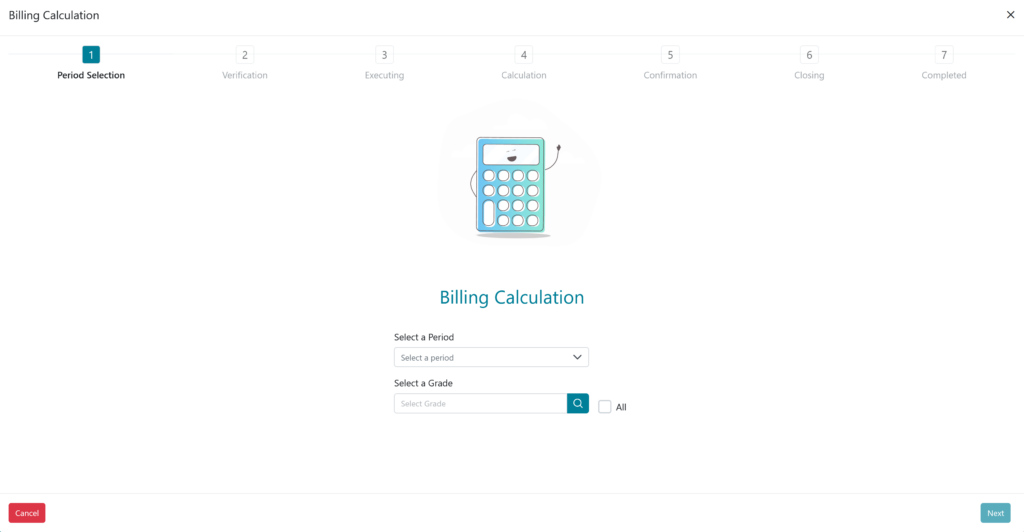
The Process Billing button takes you to a wizard that guides us through the process of billing calculation in 7 steps. In Step “1. Period Selection” we will select a Period and Select a Grade, or Check the box for all Grades.
Step 1. Period Selection: we can select a Period and a Grade or All Grades to calculate the bill. The Period Selection only displays the periods that are open.
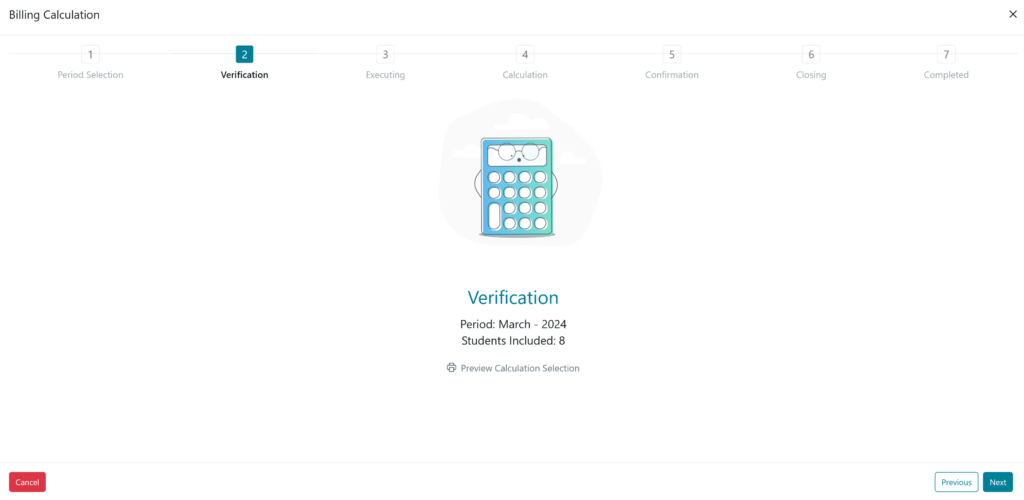
Step 2. Verification: we can see the Period and total number of Students Included and there is a “Preview Calculation Selection” that allows us to make sure that all the student that need to be billed are in the document.
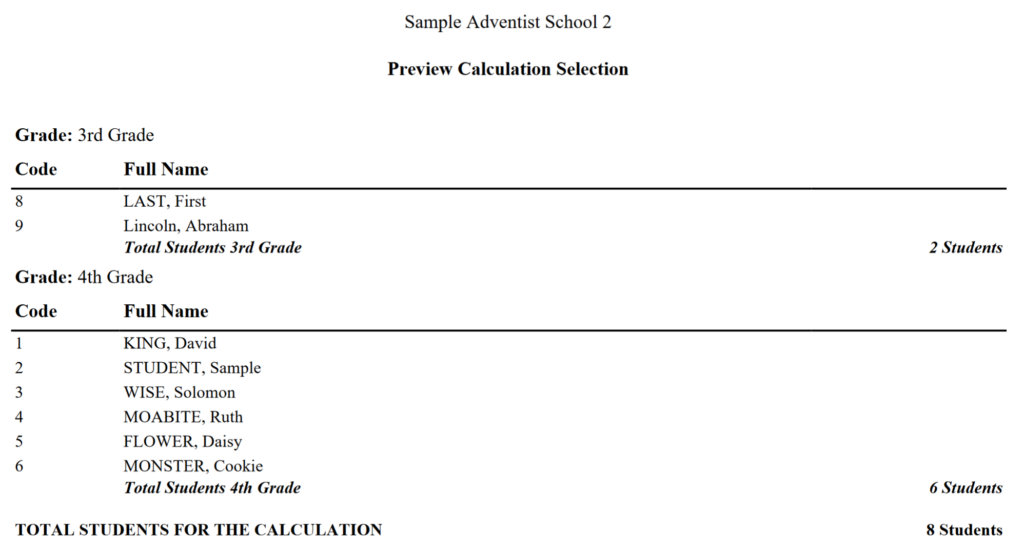
The Preview Calculation Selection, groups the students by grade and displays the Code and Full Name of the student. The total number of students in each grade is listed on the right after the grade and the total number of students for the calculation is at the end of the document.
Step 3. Executing: this step might take a little longer depending on how many students are included in the billing calculation. The drop down button (View Details), allows us to see the process for each student that is being billed, and will show the completion action or have an icon with an error. If all goes well, it will move us to step 4. If there are errors returned for any students the details will help explain which billing rate, billing rate condition, or other configuration may need further attention to complete the billing calculation for that student.

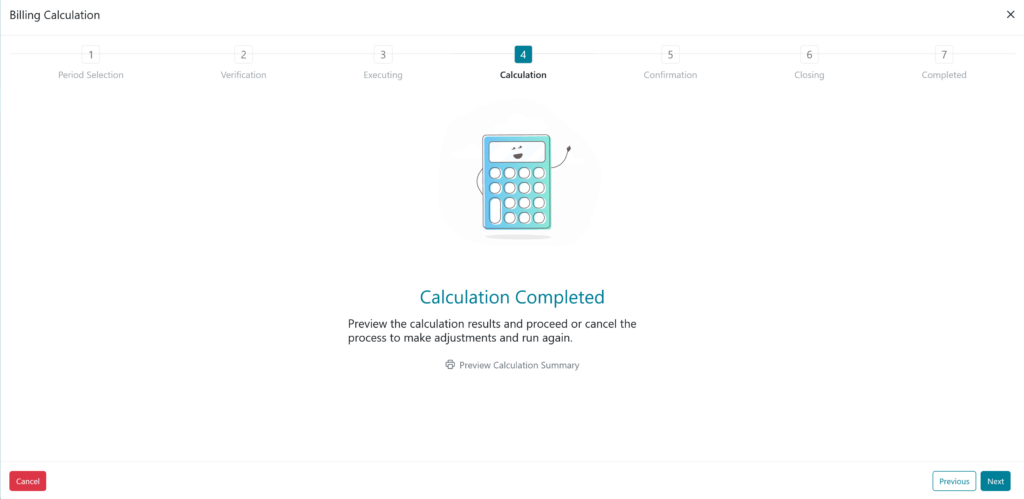
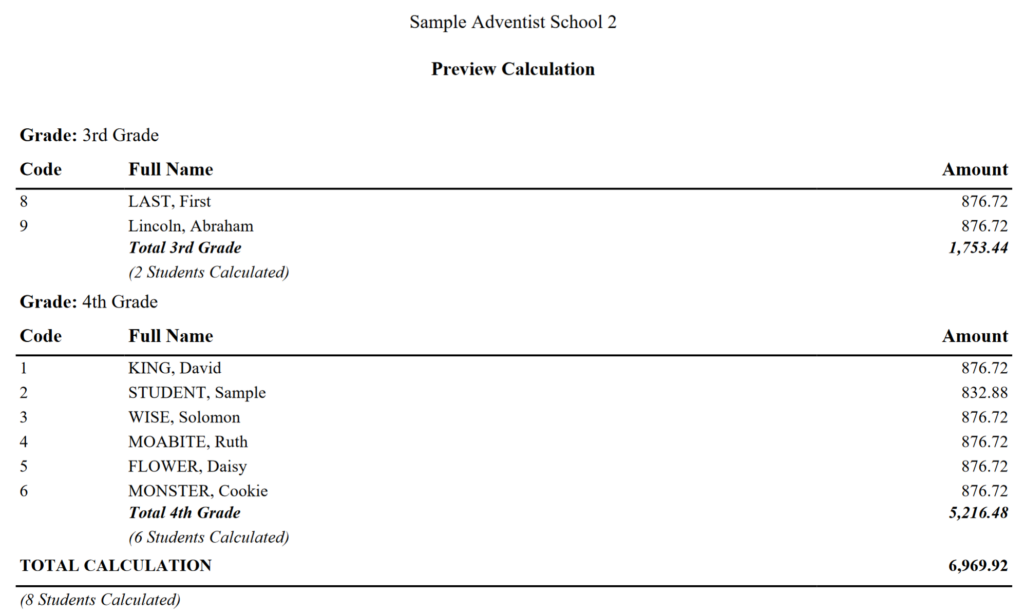
Step 4. Calculation: providing no errors occurred in step 3, the calculation will be completed. Click the print icon to “Preview Calculation Summary” with the list of the students and their calculation amount for the period you selected in step 1. If you notice an issue on the summary document, you can still cancel and start over, it will not save or close process billing in this step. This will provide an opportunity to make further changes, including, ensuring students are being billed for all related billing rates either by the grade they are in, by global billing, or billing individually by the student. This review should not be overlooked and will help ensure statements are accurate on a monthly basis and that all students are included with the proper billing amounts.
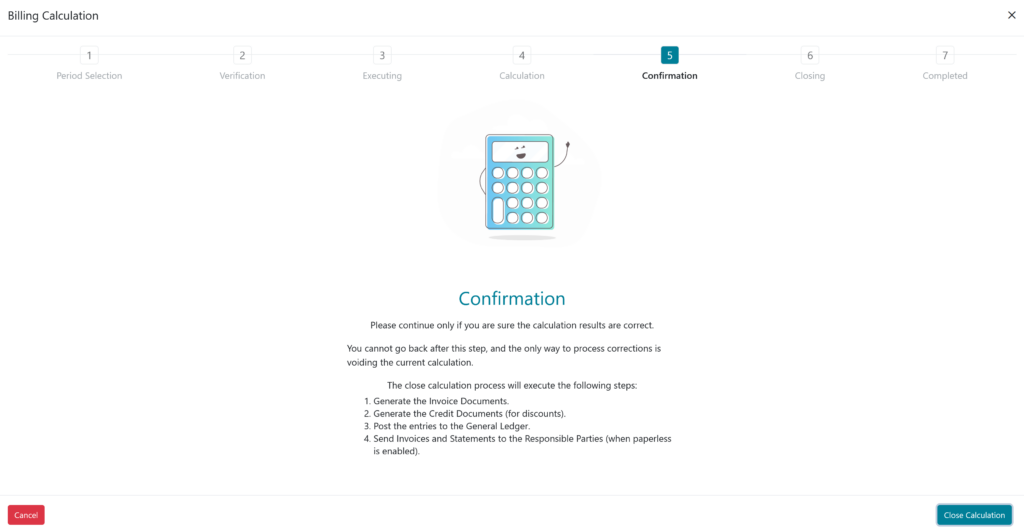
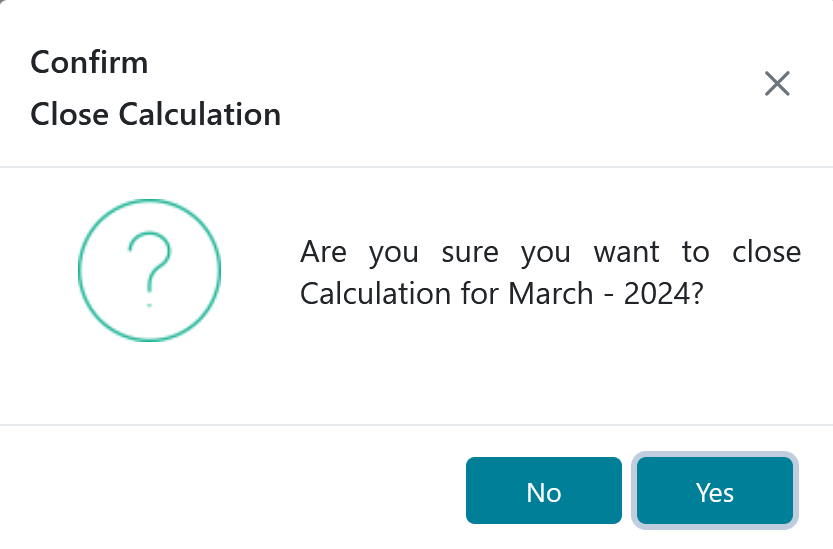
Step 5. Confirmation: this your last chance to make adjustments to any student and their calculation. You can not go back after this step, and the only way to process with corrections is voiding the current calculation and making the necessary changes to the student and then rerunning the process billing to include the updated billing for the related students. Once you confirm the calculation, a pop-up box will ask if you are sure you want to close calculation, you will click yes and the close calculation process will execute.
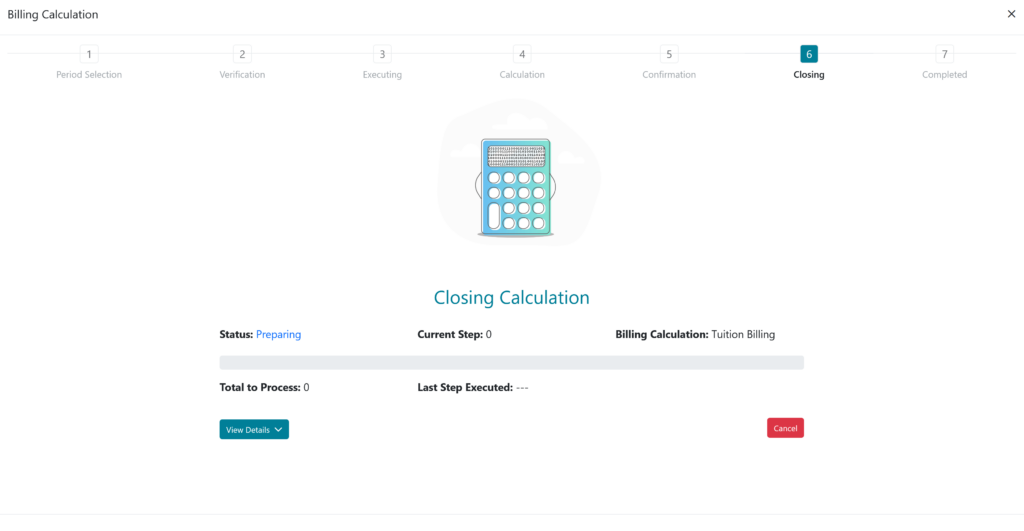
Step 6. Closing: similar to step 3 executing. The system will be executing the four steps confirmed in step 5; including, generating the invoices or credit documents, post the entries to the GL, and send Invoices and Statements to Responsible Parties who have been configured for Paperless Enabled.
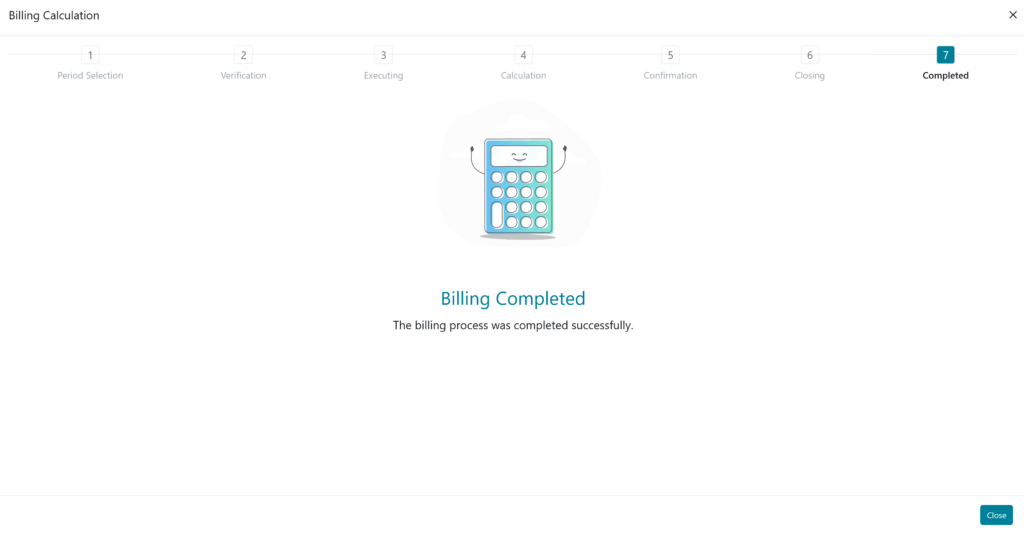
Step 7. Completed: The billing process was completed successfully.
The Billing Process completed through the Billing Calculation Wizard can be run more than once for the same period; meaning, if you want to run the process for a period and then a new student is enrolled and calculation needs to be complete for that new student only, running the full calculation wizard will see that the other students already have a calculation and will only run a calculation for new students. This will ensure no duplication through this process, while also allowing flexibility when other changes occur with the student body.