In Vendors you are able to view, add, edit, and delete vendors that are included in the system. Vendors are a subaccount type but used more commonly when making payments and as a result have a separate menu item to manage them. The grid view will display each vendors code, name, phone number, email, and Active status.
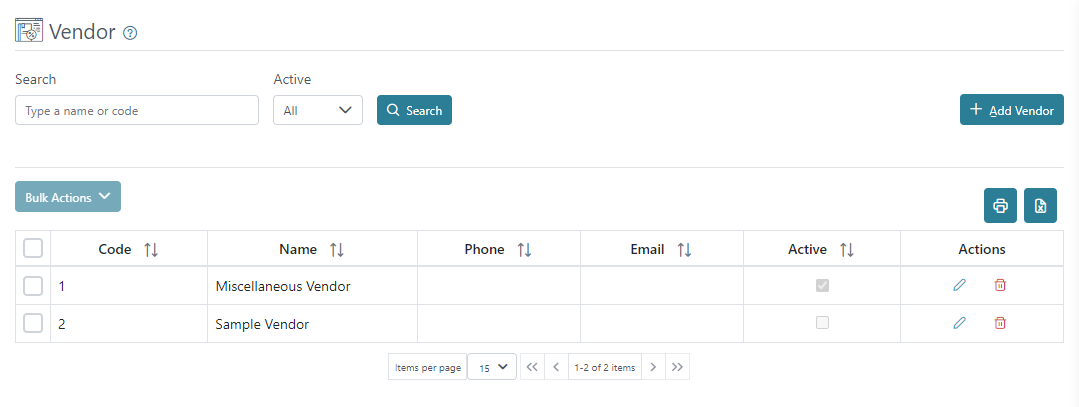
You can print or download a list of vendors using the printer or excel icons on the right above the grid view.

You can search for vendors using their name or code and you can filter using the Active status.

You may use the Bulk Actions by selecting multiple vendors and then selecting to Activate, Deactivate, or Invert Selection to change their status in bulk.

There are action buttons on the right for each vendor to edit or delete the vendor; however, you may not delete a vendor that already has entries or documents issued to them, but you can make them inactive.

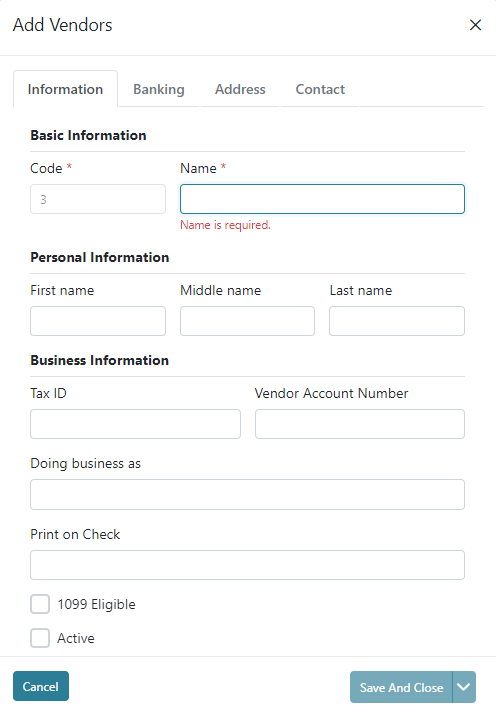
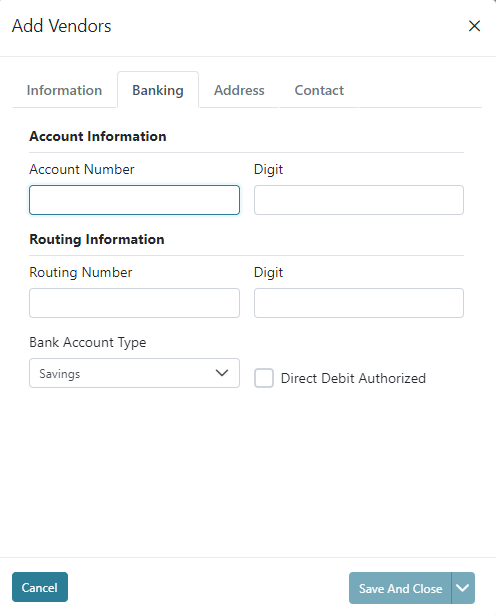
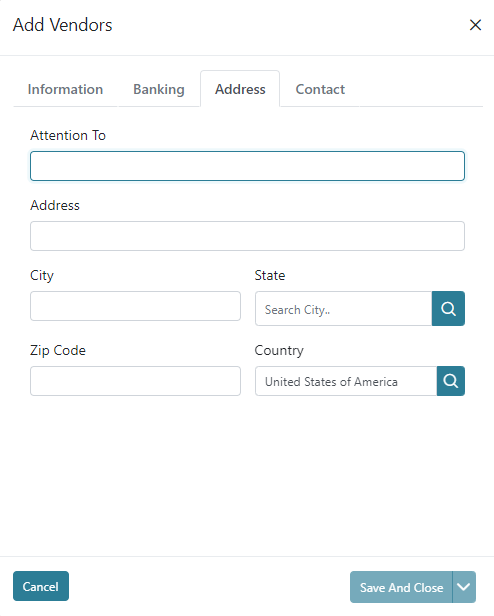
When adding a new vendor or editing an existing vendor a screen will display allowing you to populate additional information for the vendor in the following tabs; Information, Banking, Address, and Contact. Each of these tabs has different information that can be helpful and all are optional except the Code and Name on the Information Tab. The codes of subaccounts including vendors are automatically assigned by the system using the next highest number.