
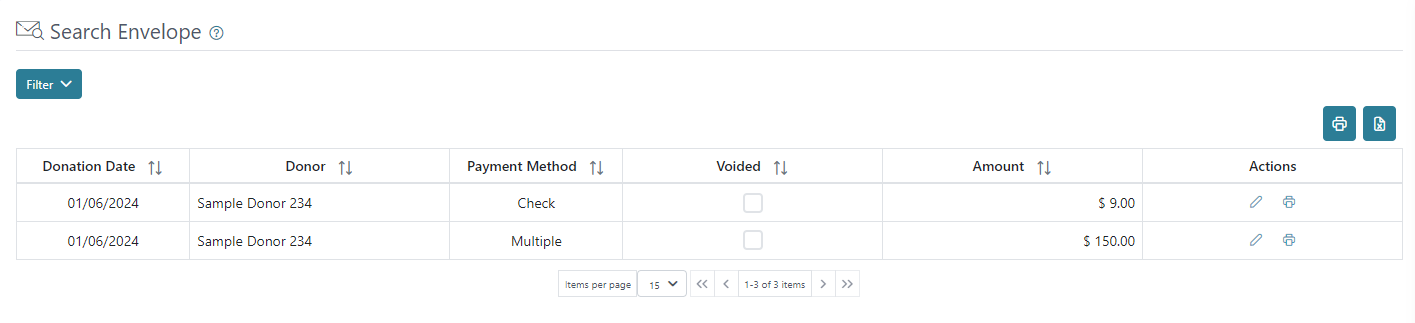
In Search Envelopes you are able to review a history of all the envelopes entered and the default view will show you envelopes from the current Quarter. In Search Envelopes you are also able to print or edit envelopes in case a correction is needed. When editing an envelope you can choose to void all or a portion of the envelope or you can choose to make an offering distribution change.
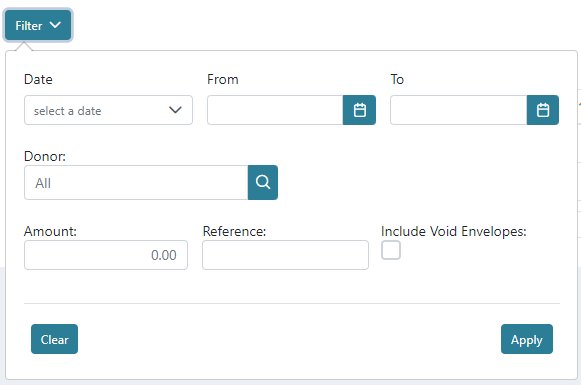
In the Filter menu, we can set a Date, search by Donor, Amount, Reference (payment method), and we can select if we want to Include Voided Envelopes in our search. The clear button will remove any recent selection made in the filter fields and the search button will run the search including any changes made to the filter and display any findings in the grid view.
You can print or download a list of envelopes using the printer or excel icons on the right above the grid view. This will print or download only the entries displayed on the grid view.

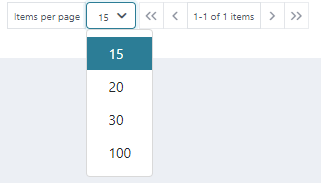
The grid view will by default display the first 15 entries and any additional entries will display in separate pages. There is a count for how many entries/items are available and how many are being displayed on the page out of those available. The arrows can be used to move between the pages.
In the grid view, we will see listed envelopes with donation date, donor, payment method, if the envelope is voided or not, and amount. In the far-right column, we will see Actions with a pencil icon to “Make Corrections” and a printer icon to “Print” the donation receipt.

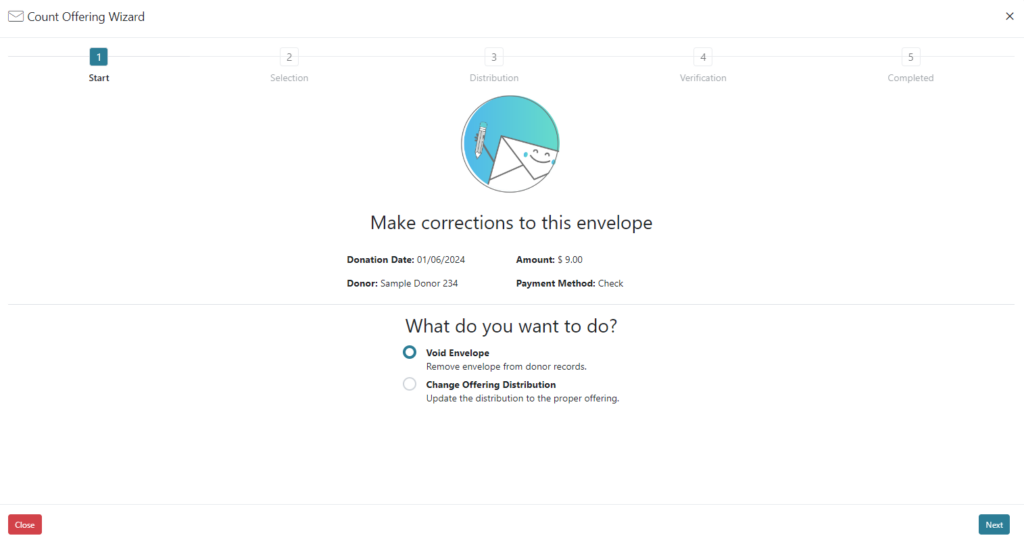
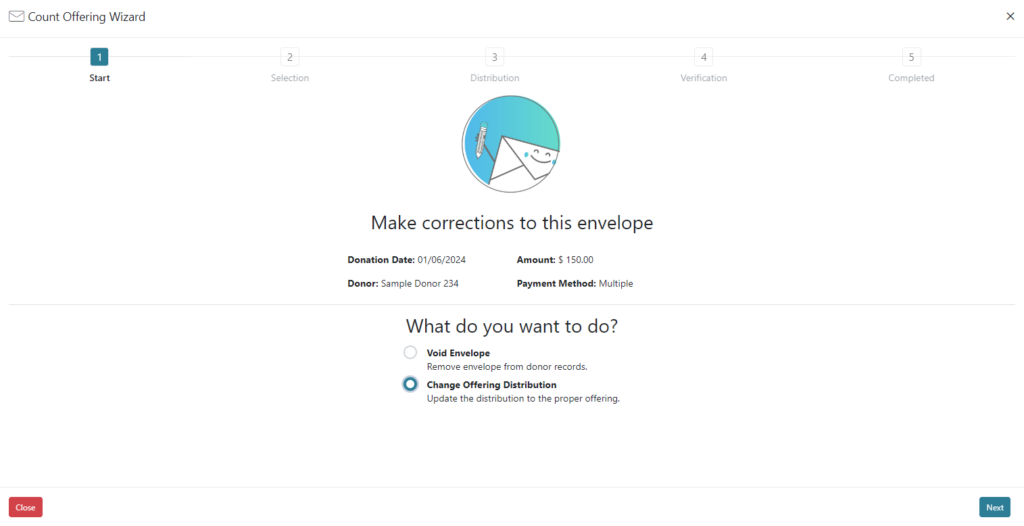
The pencil icon take you to a wizard that allows us to Void or Change the Offering Distribution for a closed donation that will guide us through the process in 5 steps based on our selection. In Step “1. Start” we will see a summary of the selected donation with Donation Date, Donor, Amount, and Payment Method. Then we will select the type of correction needed: Void Envelope which removes the envelope from donor records or Change Offering Distribution which updates the distribution to the proper offering.
- Void Envelope – Example
Step 1. Start: we can select Void Envelope to void the full or part of the envelope. When we are ready, we can select “Next” on the bottom right of the screen and this will take us to the next step.
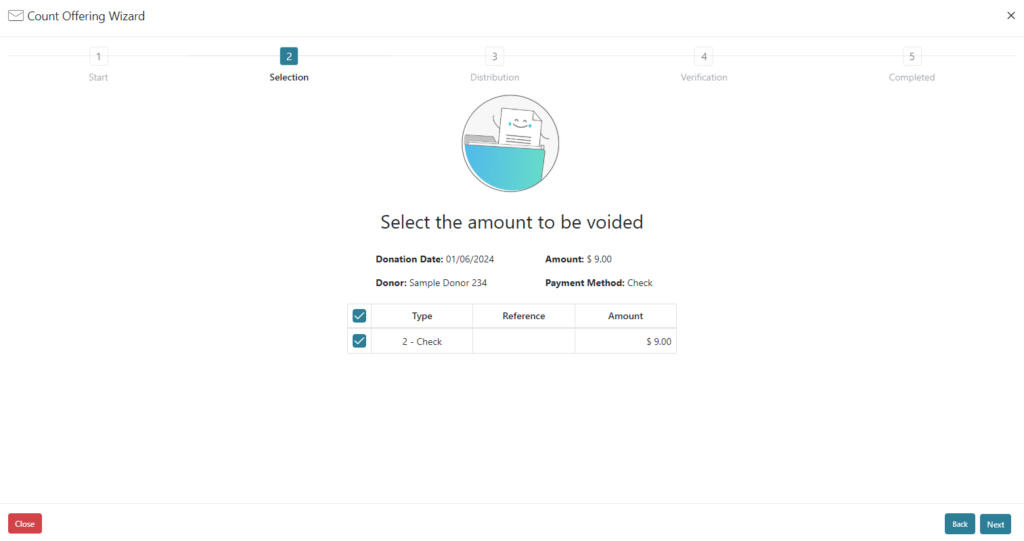
Step 2. Selection: we can review the selected donation information again and select the payment that is being voided. If our donation had multiple payment methods (like a cash payment and check payment), then we would see both payment methods listed. If our donation only had one payment method, then we would see just the one payment method listed. We would need to select which payment method we would like to void. If our donation has only one payment method, then we would select just the one payment method that needs to be voided by selecting the box on the left of the payment method. If your donation has multiple payment methods, then we would select from the list which one we want to void to do a partial void or if we want to void the full donation (all payment methods in that donation) then we would select all available payment methods by selecting the box on the left of the payment method. We would then select Next on the bottom right of the screen to go to the next step.
Step 3. Distribution: this step will only be displayed in the Void process if we are doing a partial void to adjust the offerings for the amount being voided. If we are voiding the full payment amount for the donation, then step 3 will be skipped.
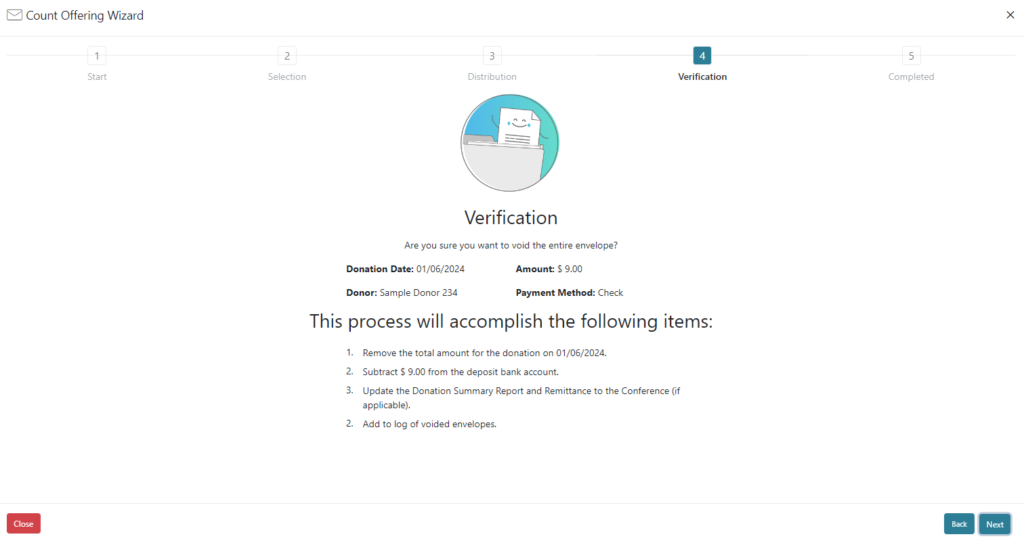
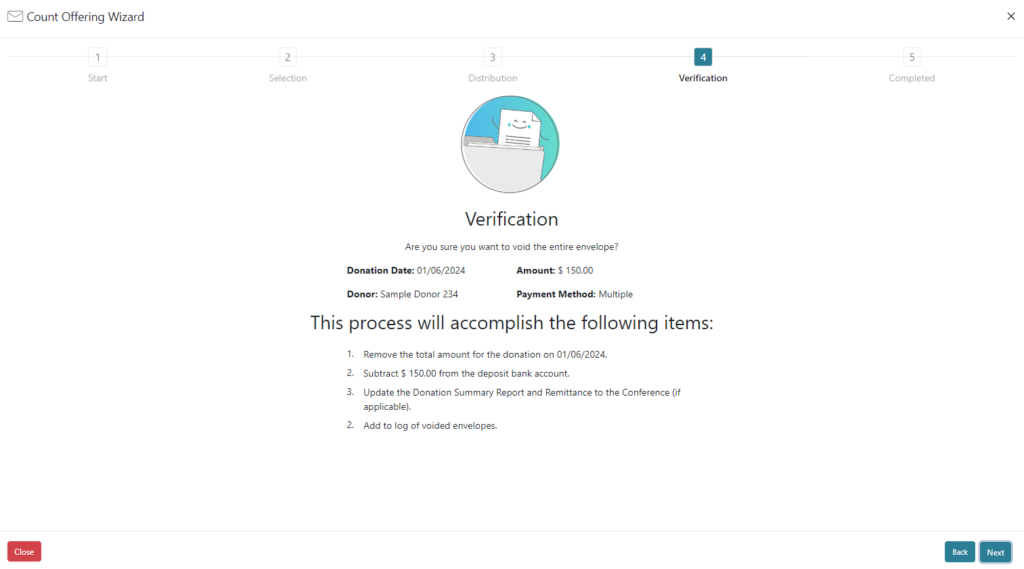
Step 4. Verification: this step will give a summary of the donation and process of voiding. We can verify to ensure we are voiding the correct donation/payment and the steps that will be completed once void is completed. There are 4 steps that are completed during a void, the system will remove the total amount for the donation from the donor receipt and will make corresponding entries on the general ledger to remove, the amount of the donation will be subtracted from the deposit to the bank account, the Donation Summary Report and Remittance Conference will be updated to include the negative values for the void, and the voided donation will be added to a log of voided envelopes. The void amounts, will be processed during the current remittance period, so for example if we are processing February remittances and we void a donation from January, the negative amounts from the January void, will be processed during the current months remittance, February.
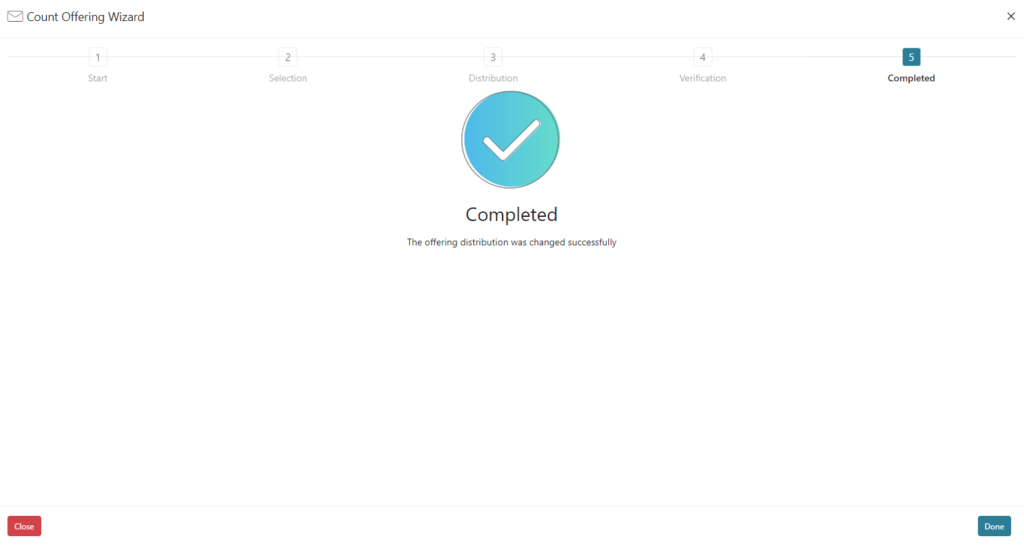
Step 5. Completed: this step will display when the void has completed successfully.
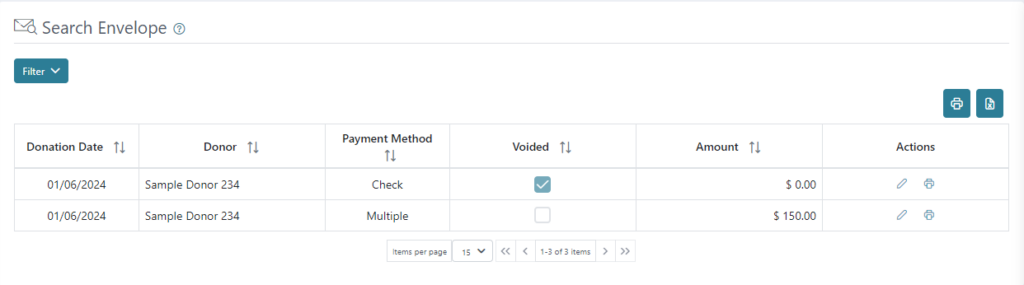
In the Search Envelopes screen, we will still see the donation still after a void, but the donation will be marked as void with a checkmark in the Voided column and the amount will display as 0.00.
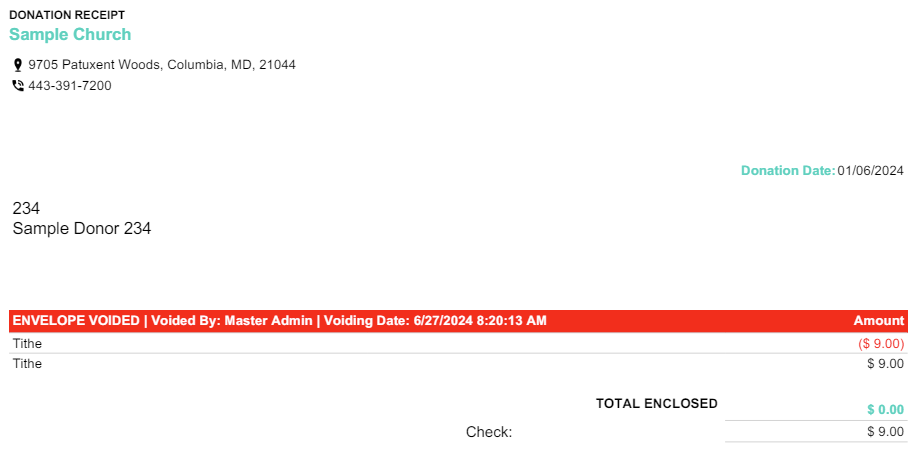
If we click on the print actions button (printer icon), we can view the voided Donation Receipt.
Change Offering Distribution – Example
Step 1. Start: we can select change offering distribution to make a correction in the offering distribution from one offering to another. When we are ready, we can select “Next” on the bottom right of the screen and this will take us to the next step.
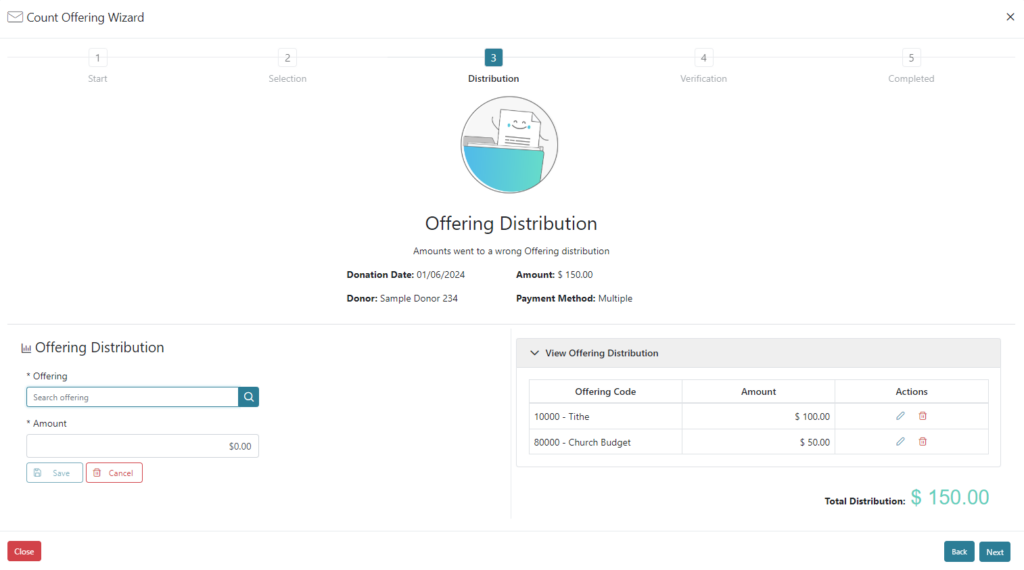
Step 2: In Offering Distribution we are not voiding a portion of the envelope, so no selection is required. Instead, you will be taken directly to Step 3 to complete the distribution changes.
Step 3. Distribution: in this step, we can edit the offering code or the amount by clicking the drop down arrow to view offering distribution and on the Edit icon on the right, under Actions. Once Edit has been selected, you can choose a different offering or amount on the left and click Save. You can also delete an offering by clicking on the Delete icon. Whenever you change an offering amount, the offering distribution should be adjusted so that the envelope amount and total distribution agree
Step 4. Verification: this step will give a summary of the donation and process of voiding specific amounts when changing offering distribution. We can verify to ensure we are changing the correct donation and the steps that will be completed once it is completed.
Step 5. Completed: this step will display when the void has completed successfully.
