
In Donors you are able to view, add, edit, and delete donors that are included in the system. You may also Merge Donors if duplicates are created and import donors. The grid view will display each Donors Code, Full Name, Email, and Active status.
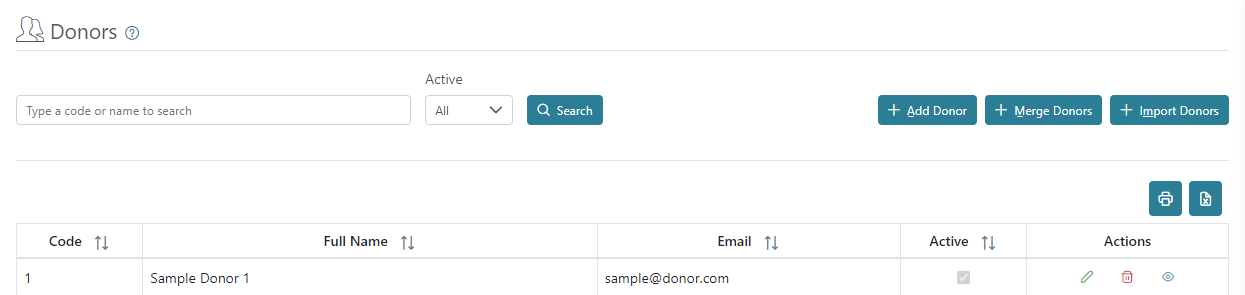
You can print or download a list of donors using the printer or excel icons on the right above the grid view.

You can search for donors using their name or code and you can filter using the Active status.

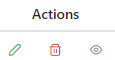
There are action buttons on the right for each donor to edit, delete, or view additional donor information; however, you may not delete a donor that already has entries or documents issued to them, but you can make them inactive.
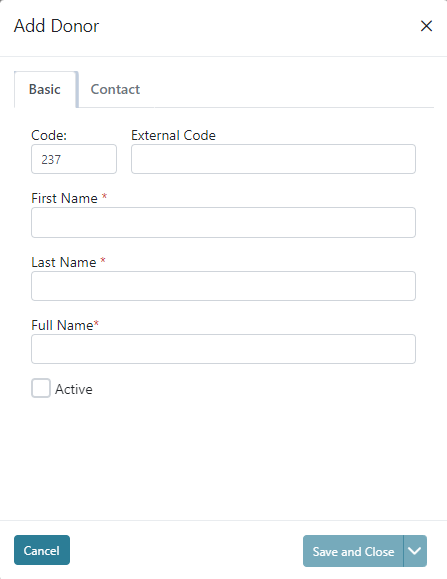
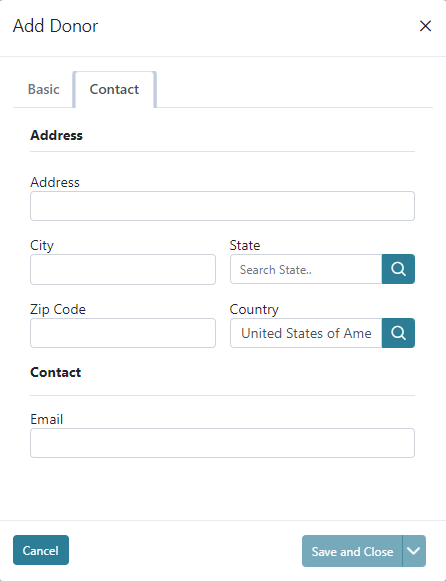
When adding a new donor or editing an existing donor a screen will display allowing you to populate basic information for the donor; including First Name, Last Name, Full Name, Active checkbox and an External Code. The codes of subaccounts including donors are automatically assigned by the system using the next highest number. The Contact tab, allows you to populate the Address and Email.
You are able to Merge Donors when there are duplicate donors created. The Merge Donor Wizard has a step by step process to merge the donors activity and mark the duplicate as inactive.
Step 1 – You will want to select the donor that will remain as the active donor. This donor will receive the donation history in the period being merged and will remain active.

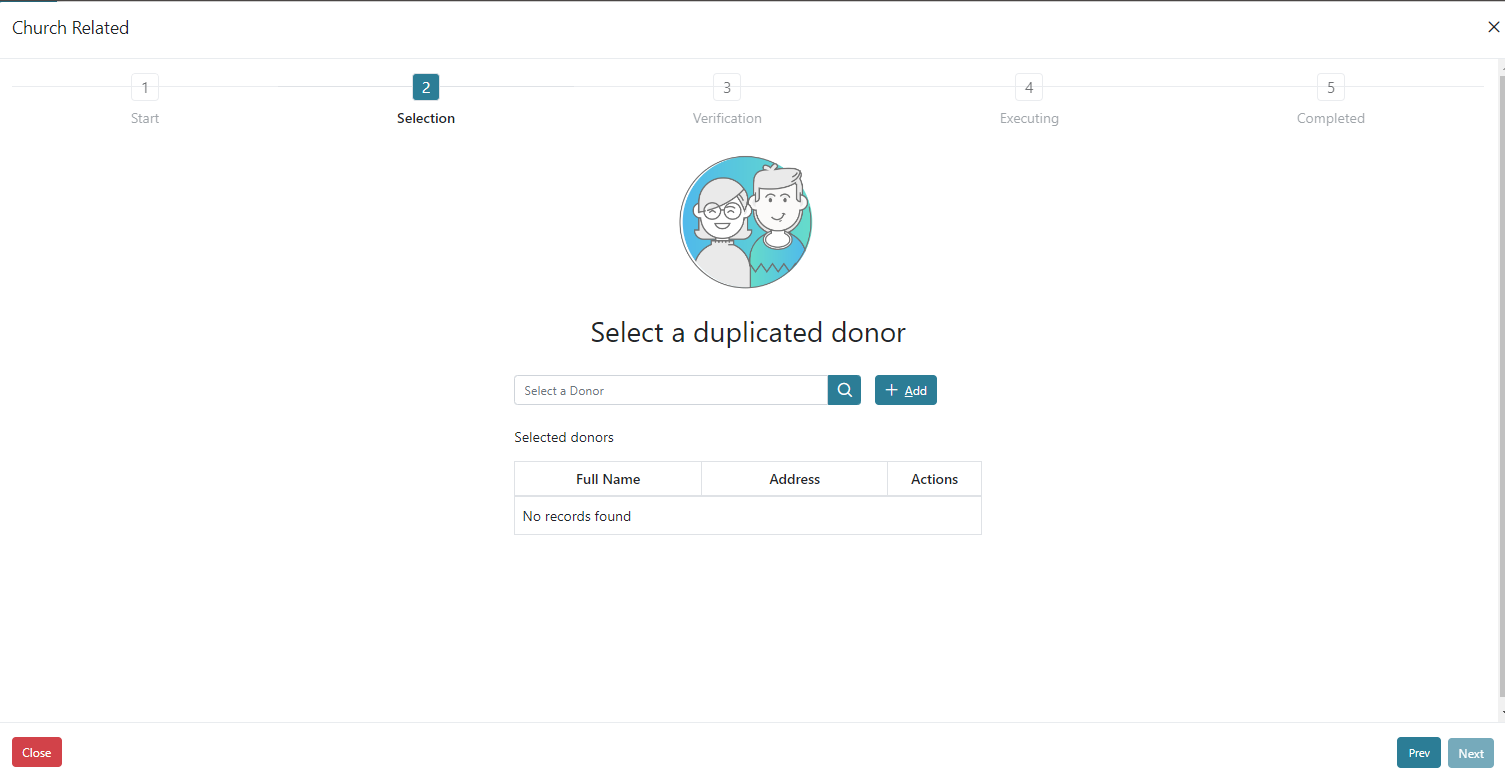
Step 2 – You will select the duplicated donor here that is to have the donations moved and is to be made inactive. The system will allow you to merge more than one into the donor selected in step 1.
Step 3 – You will verify the information that you have selected in the first two steps by seeing the donors that will be merged into the donor that will remain and the period that will be updated.

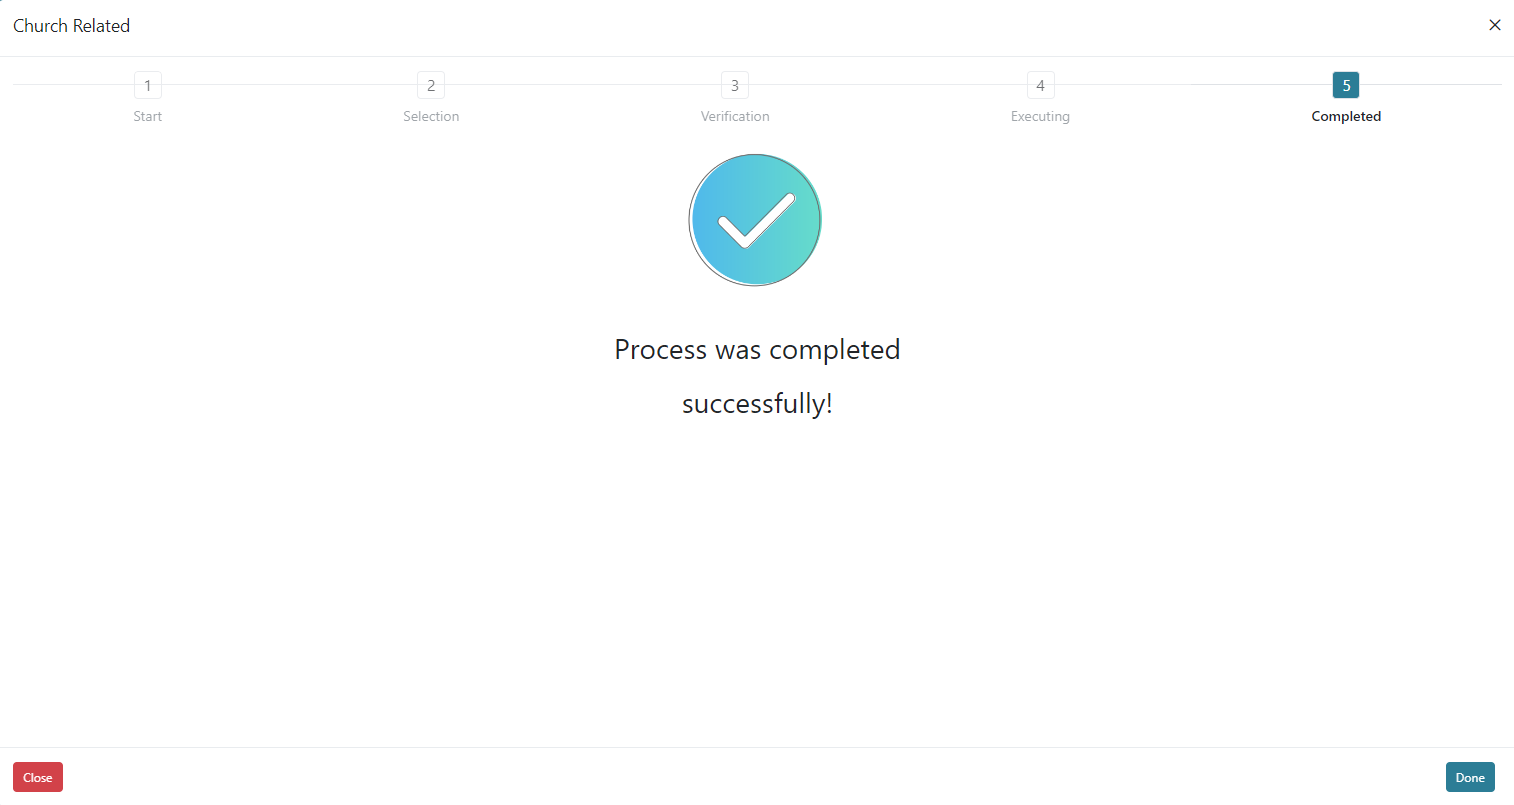
Step 4 & 5 – Step 4 will quickly process through while the merge takes place and will likely not be visible as the merge should take place quickly depending on the amount of activity to be merged. Step 5 will provide a confirmation that the process has completed.
Import Donors – This is where you would import donors from a CSV file. This would be useful if you have a list of all the donors and want to import all at once. This process has four steps:
- Select File – On this step you can browse your computer for the CSV file to be imported. There are two blue hyperlinks where you can download a template CSV file with the correct headings prepared for import and specifications for formatting of an import file. Next will advance you to the next step of the import process and Cancel will cancel the process without saving any progress.


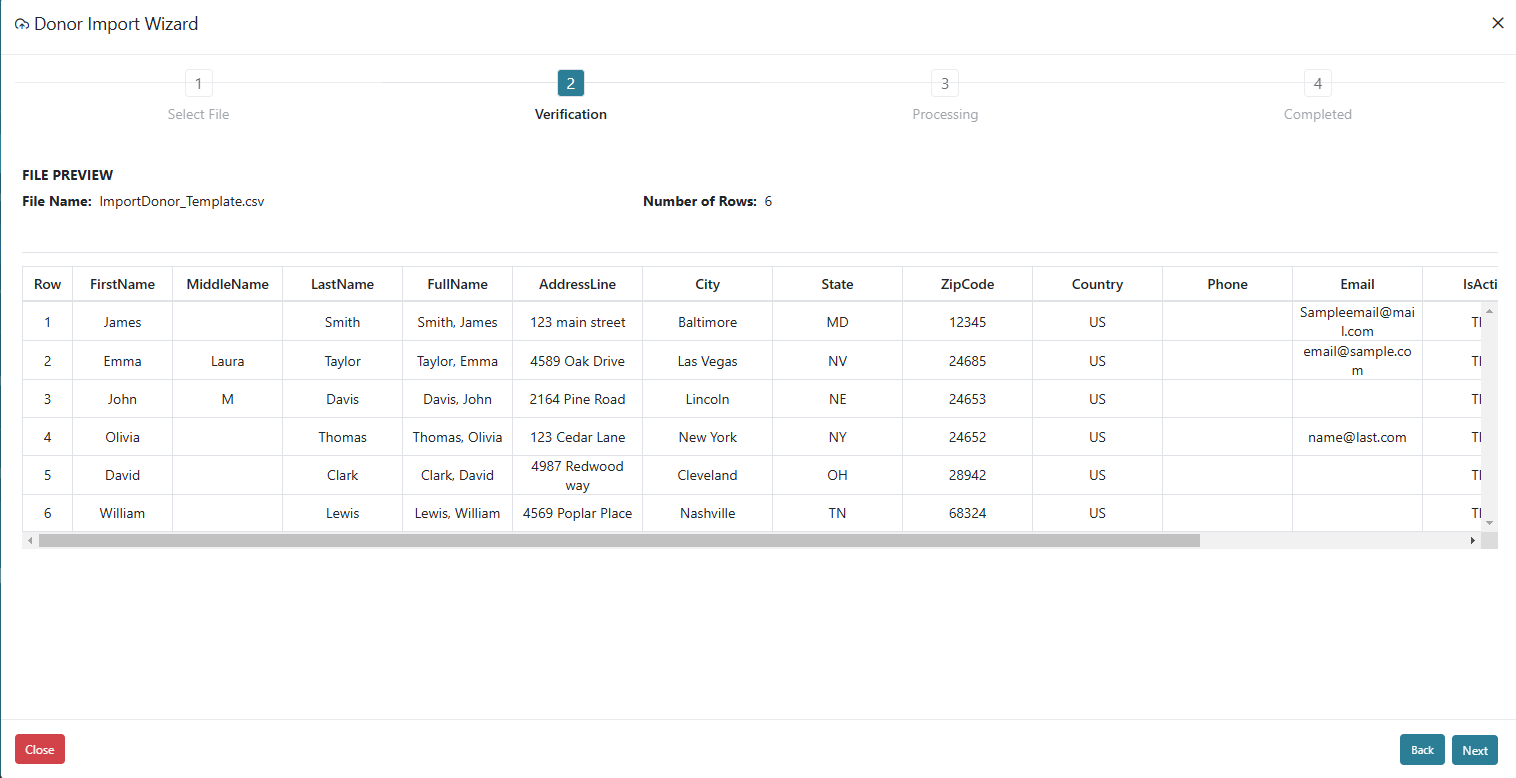
- Verification – On this step you can verify the data that will be imported. If you scroll to the right there is a message column that allows you do see if you have an error. Next will advance you to the next step of the import process.
- Processing – This step will execute the import of students very quickly.
- Completed – On this step you will receive a success message once the import is completed. Done button on the bottom right will close the import wizard and return to the Donor screen.